Wiring a circuit breaker may seem daunting, but it’s a crucial skill for any homeowner aiming to manage their electrical system safely. Understanding how to wire a circuit breaker can empower you to maintain your home’s electrical integrity while ensuring your family’s safety. With the right guidance, you can tackle this task confidently.
At AAA Electrical Services, we recognize the importance of proper wiring for your peace of mind. This blog post will walk you through the essential steps in wiring a circuit breaker—providing you with clear instructions, safety tips, and insights drawn from over 42 years of experience in the Sacramento area.
By the end of this article, you’ll be equipped with the knowledge to wire a circuit breaker effectively, which can save you time and money while keeping your home safe. Let's get started on ensuring your electrical system is up to standard.
Understanding Circuit Breaker Systems
A circuit breaker system is essential for protecting your electrical system from overloads and short circuits. Familiarizing yourself with key components and how these devices function helps ensure safety and reliability in your home.
Key Components of a Circuit Breaker Panel
The circuit breaker panel, often referred to as a breaker panel or electrical panel, houses several important components.
- Main Circuit Breaker: This is the primary switch that controls all power to the panel. It's crucial for shutting off the entire electrical system.
- Branch Circuit Breakers: These breakers manage individual circuits within the home, such as lighting or outlets. They come in various amperages, commonly 15 amp, 20 amp, 30 amp, and 50 amp, to suit different needs.
- Bus Bars: These conduct electricity from the main breaker to the branch circuit breakers.
- Grounding System: This ensures safety by directing excess electricity to the ground.
Proper installation of these elements is vital. Contact AAA Electrical Services for expert assistance in panel upgrades and repairs.
How Circuit Breakers Work
Circuit breakers act as automatic switches that shut off electrical flow when they detect fault conditions. This prevents overheating and potential fires.
When an overload or short circuit occurs, the circuit breaker trips, interrupting the power supply. You can reset the breaker after addressing the issue, restoring power to the circuit.
It's important to regularly test the breakers to ensure they function correctly. Older breakers may require replacement to avoid safety hazards.
Types of Circuit Breakers and Amperages
There are several types of circuit breakers, each designed for specific functions.
- Standard Breakers: These are used for most residential circuits.
- GFCI Breakers: Ground Fault Circuit Interrupter breakers protect against electrical shock in wet areas, like kitchens and bathrooms.
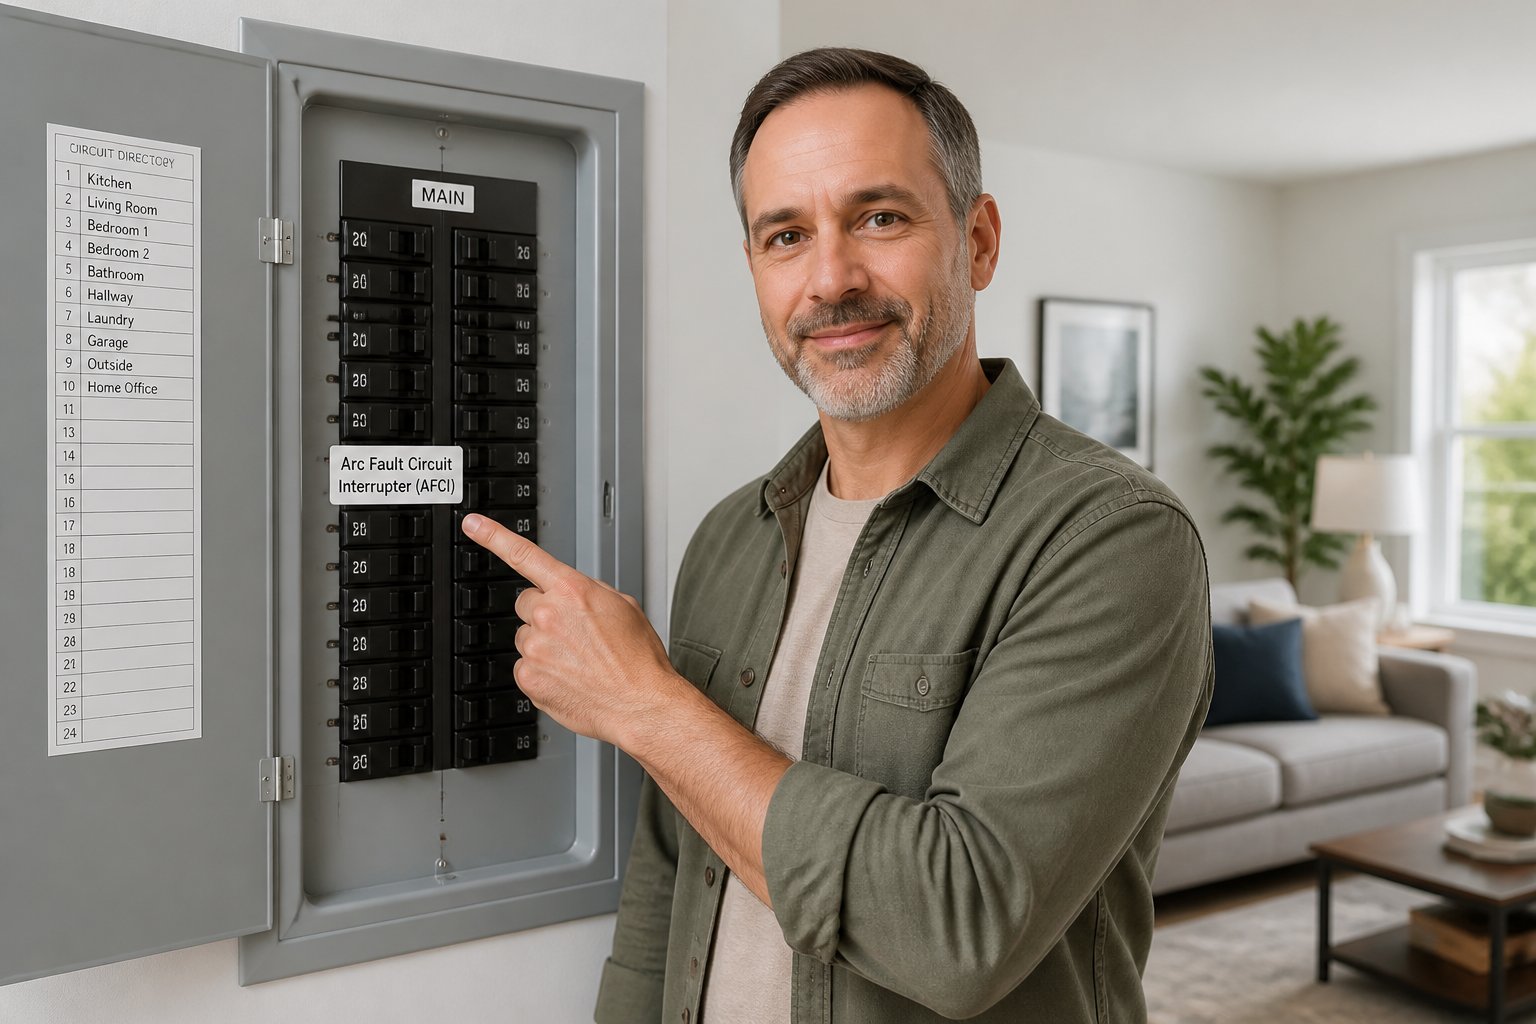
- AFCI Breakers: Arc Fault Circuit Interrupter breakers prevent electrical fires by detecting unintended arcs in the circuit.
Choosing the right amperage is essential for safety and efficiency. Consult with AAA Electrical Services to determine the best options for your electrical system.
Safety Precautions for Electrical Work
When engaging in electrical work, prioritizing safety is essential to prevent accidents and injuries. Implementing proper precautions ensures a smoother installation process and protects you from potential electrical hazards.
Preparing for Safe Installation
Before you begin any electrical installation, disable the power at the circuit breaker. Use a voltage tester to confirm that the circuit is de-energized. Familiarize yourself with the local electrical code to ensure your work complies with regulations. This helps maintain safety standards and prevent legal issues.
Create a clean work environment, free of clutter and distractions. Ensure you have ample lighting to avoid mistakes. Consider informing someone of your work schedule, as they can assist in case of emergencies. Proper preparation lays the groundwork for a successful and safe installation.
Required Safety Equipment and Tools
Using the right safety equipment is crucial to protecting yourself during electrical work. Equip yourself with the following items:
- Insulated gloves: Protect against electric shocks.
- Safety goggles: Shield your eyes from debris.
- Hard hat: Safeguard your head in case of falls or falling objects.
- Non-conductive tools: Use tools designed for electrical work to reduce the risk of accidents.
Always have a first aid kit on hand and know the location of the nearest emergency services. If you are unsure of your abilities, contact a professional electrician like AAA Electrical Services, who can ensure the job is handled safely.
Identifying and Preventing Electrical Hazards
Recognizing potential electrical hazards is key to safe practices. Look for frayed wires, loose connections, or signs of damage in electrical components. Ensure all outlets and panels are properly grounded to prevent electric shock.
Keep water away from electrical installations, as moisture can lead to severe accidents. Be cautious when working in damp areas and consider GFCI outlets for added protection. Regularly inspect your electrical systems to identify issues early.
By remaining vigilant and informed about risks, you can contribute to a safer environment for yourself and your family. For expert assistance, AAA Electrical Services offers tailored solutions designed with your family’s safety in mind.
Tools and Materials Needed
Having the right tools and materials is essential for safely and effectively wiring a circuit breaker. This section outlines the necessary hand tools, wiring supplies, and testing devices you'll need before starting the installation process.
Essential Hand Tools
To begin, gather your essential hand tools. These include:
- Screwdrivers: A set of screwdrivers is crucial. A flathead screwdriver allows you to work with various screw types in electrical boxes.
- Wire Stripper: This tool is essential for removing insulation from wires. A good wire stripper will make your connections clean and reliable.
- Utility Knife: You’ll need this for cutting wires and other materials. A sharp utility knife ensures clean cuts that help maintain wire integrity.
Other helpful tools include pliers for gripping and bending wires, and a cable clamp for securing wires in place. By using the right hand tools, your wiring job will be more efficient and safe.
Wiring and Electrical Supplies
For wiring a circuit breaker, you’ll need specific electrical supplies. Begin with:
- Electrical Boxes: These are necessary for housing your circuit breaker. Choose a box that fits your breaker's size.
- 14 AWG Wire: This wire gauge is commonly used in residential applications. It’s essential for handling the electrical load safely.
- Electrical Tape: Use this to insulate connections and prevent accidental short circuits.
Make sure to have extras on hand; it’s best to be prepared. Having high-quality wiring supplies ensures that your circuit operates efficiently, enhancing safety in your home.
Diagnostic and Testing Devices
After installing a circuit breaker, testing your work is crucial. You will need:
- Circuit Tester: This helps ensure that electrical circuits are functioning correctly and safely.
- Voltage Tester: A voltage tester allows you to check if power is flowing through circuits. Use this tool to confirm that everything is wired safely.
- Test Light: This can be handy for troubleshooting. It lights up to indicate if current is present, which is vital for confirming safe conditions.
These diagnostic tools will allow you to verify that your circuit breaker installation is successful. Consider relying on professionals like AAA Electrical Services if you're unsure at any step; they prioritize your family's safety.
Step-by-Step Guide to Wiring a Circuit Breaker
Wiring a circuit breaker can seem daunting, but with clear steps, you can achieve a safe installation. This guide outlines exactly how to switch off power, connect the necessary wires, secure them, and install the circuit breaker properly.
Switching Off Power and Removing the Panel Cover
Before you start any wiring, ensure your safety by switching off the main power from the service disconnect. Locate the main breaker in your breaker panel and turn it to the "off" position. This step stops all electricity flow and reduces the risk of electrical shock.
Next, remove the panel cover by unscrewing the screws holding it in place. Use a screwdriver appropriate for the screws used in your breaker panel. Set the cover aside safely to access the inner workings of the panel.
Connecting the Neutral, Hot, and Ground Wires
When wiring a circuit breaker, you must identify the wires you'll be connecting: hot, neutral, and ground wires. The hot wire is typically red or black and carries electricity. Connect this wire to the hot bus located inside the panel.
The neutral wire, usually white, needs to go to the neutral bus bar. This bar is specifically designed for neutral connections within the breaker panel. Finally, connect the ground wire, which is typically green or bare copper, to the ground bus bar to ensure safety.
Securing Wires to the Correct Bus Bars
After you have connected each wire, ensure they are secured tightly. Use a screwdriver to tighten the screws on the bus bars. This connection prevents any loose wires, which can lead to electrical faults.
Labeling the wires can also help you manage connections effectively, especially if you're working with multiple breakers. It’s important to follow local codes and regulations regarding wire colors and connections.
Installing and Testing the Circuit Breaker
Once all wires are secured, proceed to install the circuit breaker. Align the circuit breaker with the panel's slots and push it firmly into place until you hear a click. This sound indicates that the breaker is seated correctly in the panel.
After installation, double-check each connection. Restore power to the panel by turning on the main breaker. Test your newly installed circuit breaker by turning on any connected devices, ensuring everything functions correctly. If you experience any issues, consult a qualified electrician from AAA Electrical Services for assistance, ensuring your family’s safety is prioritized.
Advanced Considerations and Troubleshooting
When working with circuit breakers, understanding advanced aspects such as GFCIs, wiring diagrams, and common issues can ensure safety and reliability. Proper handling of these elements is key to effective electrical work.
Handling Ground Fault Circuit Interrupters (GFCIs)
GFCIs are designed to protect against ground faults, reducing the risk of electric shock. These devices monitor the current flowing through the circuit and quickly shut off power if an imbalance occurs.
To install a GFCI, connect the black (hot) wire to the brass terminal and the white (neutral) wire to the silver terminal. Ensure that the ground wire is attached to the green grounding screw. Locations like kitchens and bathrooms are critical for GFCI installation due to higher moisture levels.
Testing GFCIs regularly is essential. Push the "Test" button to ensure functionality and "Reset" it to restore power. If there's a persistent trip, consult a licensed electrician, such as those at AAA Electrical Services, to evaluate the circuit for any underlying issues.
Understanding Wiring Diagrams
Wiring diagrams are invaluable tools that provide a clear visual representation of how electrical circuits are configured. Familiarizing yourself with these diagrams helps you understand how components like circuit breakers, GFCIs, and electrical loads are interrelated.
An effective diagram identifies circuit loads, including devices like garbage disposers. It specifies which wires connect to circuit breakers and the paths taken to outlets and switches. To interpret a wiring diagram, note symbols for different components and the connections between them.
If you're unsure about your wiring, professional assistance can ensure setup aligns with codes and safety standards, preventing potential hazards.
Resolving Common Issues and Short Circuits
Common problems with circuit breakers include tripping due to overloads, short circuits, or faulty components. Overloaded circuits occur when the demand exceeds the circuit's capacity; reducing the number of devices connected can help mitigate this.
Short circuits typically happen when a hot wire touches a neutral wire. If a breaker trips upon connection, inspect cords and connections for damage. High electrical loads from appliances can also cause trips, signaling a need for a panel upgrade.
If you're frequently experiencing issues, consider consulting AAA Electrical Services. They can assess the electrical load and provide solutions tailored to your home's needs, ensuring a safe and efficient electrical system.
Frequently Asked Questions
Understanding the wiring process for circuit breakers is essential for safe electrical setups. Here are specific answers to common inquiries regarding circuit breaker installation and maintenance.
What is the correct method to wire a single pole circuit breaker?
To wire a single pole circuit breaker, start by turning off the main power. Connect the black wire (hot) to the breaker and the white wire (neutral) to the neutral bar. Finally, secure the ground wire to the ground bar. Always ensure connections are tight and verify that your panel is properly grounded, prioritizing safety.
What steps are necessary for adding a new breaker to an already full electrical panel?
When adding a new breaker to a full panel, turn off the main power first. Ensure the panel can accommodate another breaker; if it cannot, you may need to replace an existing one or upgrade the panel. Follow proper installation guidelines and check local codes. Consider contacting a professional like AAA Electrical Services for a safer, efficient process.
Could you explain the process of running electrical wire from a breaker box to an outlet?
Start by turning off power to the circuit at the breaker box. Use an appropriate gauge wire for your load, typically 14 or 12 gauge. Run the wire through walls or conduit, securing it along the way. At the outlet end, strip wire ends and connect the hot wire to the brass terminal, the neutral to the silver terminal, and the ground to the green terminal, ensuring tight connections.
Is there a standard wiring diagram available for a circuit breaker panel?
Yes, most circuit breaker panels come with a wiring diagram included in the manufacturer’s manual. These diagrams offer visual guidelines for proper wiring and breaker placements. It's advisable to keep this information accessible for maintenance or future repairs, especially if you may tackle DIY projects in the future.
How do I safely wire a breaker box for 220V usage?
For 220V circuits, ensure you're using a double pole breaker. Connect two hot wires (typically black and red) to the breaker. The neutral wire is typically not required, but connect a ground wire to the ground terminal. Verify all connections, and again, it's recommended to consult with a licensed electrician if you're unsure. AAA Electrical Services can help you ensure that this is done safely.
In a breaker box, how can you identify the hot wire?
The hot wire is generally colored black or red in electrical systems. To safely identify it, use a voltage tester to confirm that the wire carries current. Make sure to turn off power to the breaker before handling any wiring, and always prioritize safety when working in the breaker box.