Preparing your home for an electrical inspection can feel overwhelming. Knowing the right steps will make the process smooth and stress-free.
Clear easy access to your electrical panel. Check that all outlets and switches work, and fix any visible issues like frayed wires or damaged covers.
This helps the inspector do a quick and thorough job. Gather any documents about past electrical work, permits, or upgrades.
Having this information ready shows your system is up to code and helps avoid delays. Make sure all appliances and outlets are unplugged or turned off to keep everyone safe during the inspection.
Understanding Home Electrical Inspections
Knowing what an electrical inspection involves, why it is important, and when to get one can help you keep your home safe. These checks make sure your electrical system works right and meets current safety rules.
This knowledge helps you decide the best time to have an inspection done.
What Is a Home Electrical Inspection
A home electrical inspection checks your entire electrical system for safety and function. An inspector looks at wires, outlets, switches, circuit breakers, and other parts.
They test the system to find problems like faulty wiring or overloaded circuits. The goal is to confirm your system meets safety codes and works properly.
The inspection can reveal hidden risks inside walls or in your electrical panel. Knowing about these issues lets you fix them before they cause damage or fire.
Why Electrical Inspections Matter
Electrical inspections prevent dangerous problems. Faulty wiring or old equipment can cause fires, shocks, or power outages.
An inspection helps catch these issues early to keep you and your family safe. Regular inspections also save you money by avoiding costly repairs later.
They make sure your system supports all your appliances without overload. This is especially helpful if you’ve done home updates or bought an older house.
When to Schedule an Inspection
You should schedule an electrical inspection in these situations:
- Before buying or selling a home
- After major renovations or improvements
- If you notice flickering lights, frequent breaker trips, or burning smells
- When your home’s electrical system is over 10 years old
Regular checks every few years help you stay proactive. Inspections done at the right time keep your system safe and up to code.
Reviewing Electrical System Basics
Knowing what parts make up your electrical system, understanding common code mistakes, and spotting warning signs helps you get ready for an inspection. This knowledge helps you catch problems early and keeps your home safe.
Main Components to Check
Start with your circuit breaker panel. Make sure all breakers are labeled clearly and none are damaged or rusted.
Check that the panel cover fits securely and there are no signs of overheating like burn marks. Next, look at your wiring.
Visible wires should be intact, with no fraying or exposed copper. Pay attention to outlets and switches.
They should work properly and not feel loose or warm. Don’t forget grounding and bonding.
Your system must be grounded well to prevent shocks. Look for a grounding rod outside or grounding wires connected inside the panel.
Common Electrical Code Violations
Some violations happen often during inspections. One is overloaded circuits—too many devices on one breaker can cause trips or fires.
Make sure the load is balanced. Another is improper wiring methods, like using the wrong wire gauge or missing wire nuts.
Extensions cords used as permanent wiring are also code violations. Missing or damaged GFCI (Ground Fault Circuit Interrupter) outlets is common, especially in kitchens, bathrooms, or outside.
These protect from electric shocks and must work properly.
Recognizing Warning Signs of Electrical Issues
Look for signs like flickering lights or frequent breaker trips. These can mean wiring problems or overloaded circuits.
Burning smells or buzzing sounds near outlets or panels are red flags. They may point to loose connections or damaged wires.
Check if outlets feel warm or plugs don’t fit tightly. These issues can increase fire risk and need quick attention.
Getting Your Documentation in Order
Before the inspection, collect and organize important papers. These documents show how your electrical system was installed and updated.
Having them ready helps the inspector understand your system and speeds up the process.
Gathering Electrical Permits
Find all permits related to your home’s electrical work. These permits show that changes or installations were done legally and follow local rules.
You might get them from your city or county building department. Keep permits in one folder or file for easy access.
This includes permits for new wiring, panel upgrades, or appliance installations. If you don’t have copies, contact your local office to request them.
Having permits ready proves your system meets safety codes and avoids delays or extra inspections.
Organizing Wiring Diagrams
Wiring diagrams are maps of how your electrical system is set up. These drawings help you and the inspector see where wires, outlets, and breakers are located.
If you have wiring diagrams from past work or your builder, gather them. Label key parts like the main panel, subpanels, and important circuits.
If you don’t have detailed diagrams, create a simple sketch. Mark outlets, switches, and large appliances.
This helps the inspector find potential issues faster.
Listing Upgrades and Modifications
Make a clear and detailed list of any upgrades or changes you’ve made to your electrical system. This can include adding outlets, changing the main panel, or installing new appliances.
Write down when and what was done, plus any professional help you used. Include receipts or invoices if you have them.
Sharing this list helps the inspector focus on parts that might need extra attention. It also shows you keep your system well-maintained and safe.
Pre-Inspection Home Walkthrough
Before the inspection, spend some time checking key parts of your electrical system. This includes switches, outlets, light fixtures, and your circuit breaker panel.
Doing this helps you spot any obvious problems and get things ready for the professional inspection.
Checking Switches and Outlets
Test every light switch and electrical outlet in your home. Flip each switch on and off to make sure it works smoothly without sticking or making noise.
For outlets, plug in a small device like a phone charger or lamp to confirm they supply power. Look for outlets that feel warm or spark, as this could show a wiring problem.
Check for visible damage like cracks, burn marks, or loose covers. Make a note of any issues you find for the inspector.
Testing Light Fixtures
Go through your home and turn on every light fixture. Check if the bulbs light up properly and that the fixture doesn’t flicker or buzz.
If a light flickers or goes out quickly, you may have a poor connection or a faulty bulb. Replace bulbs with the right wattage as recommended on the fixture labels.
Look for fixtures with broken or loose parts. Make sure they are securely mounted to avoid any risks of falling or faulty wiring.
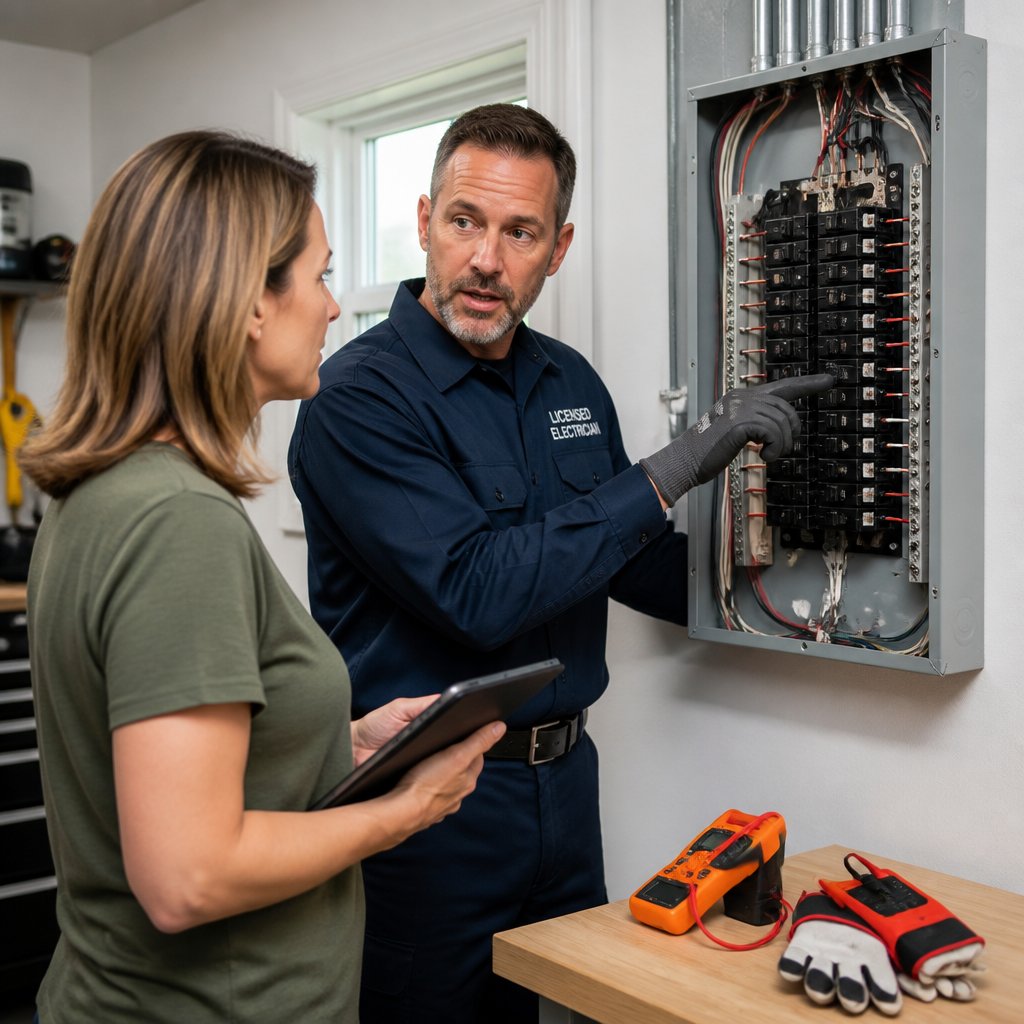
Inspecting Circuit Breaker Panels
Open your circuit breaker panel and see if all circuit breakers are labeled clearly. Labels should match the rooms or appliances they control.
Look for any breakers that are tripped or don’t switch back on easily. This can indicate an overloaded or faulty circuit.
Check the panel for rust, water damage, or broken parts. Keep the area around the panel clear so the inspector can easily access it.
If your panel is old or you notice any issues, make a note to discuss this during the inspection.
Addressing Common Electrical Hazards
You need to spot problems like too many devices on one circuit, extra use of extension cords, and things that catch fire near outlets. Fixing these keeps your home safer and helps your electrical inspection go smoothly.
Identifying Overloaded Circuits
An overloaded circuit happens when too many devices plug into one outlet or breaker. This can cause breakers to trip or wires to overheat.
Look for signs such as flickering lights or outlets that feel warm to the touch. Spread out electrical devices across multiple outlets and avoid using power strips with too many plugs.
If your breaker trips frequently, it might be time to upgrade your electrical panel or add new circuits. Make a list of rooms and devices that draw the most power to help your electrician.
Removing Extension Cord Overuse
Extension cords are handy but should not be used as a permanent solution. Overusing them can cause overheating and create tripping hazards.
Keep extension cords short and avoid plugging multiple cords together. Make sure cords are rated for the devices you’re powering.
Avoid running them under rugs or through doorways where they can get damaged. If you rely on extension cords daily, consider adding more outlets or hiring a professional to install them.
Clearing Combustibles From Electrical Areas
Keep things that can easily catch fire away from outlets, breakers, and electrical boxes. Items like paper, cloth, and aerosol cans should never be stored near these spots.
Check your electrical panels and outlets for clutter. Clear at least a 3-foot area around your breaker box for safety and easy access.
This reduces fire risk and makes inspections quicker.
Preparing Specific Areas for Inspection
Make sure certain key spots in your home are ready for the inspection. Clear clutter and give inspectors easy access to important electrical parts.
Pay attention to where the main panels, utility spaces, and outdoor fixtures are to help the process go smoothly.
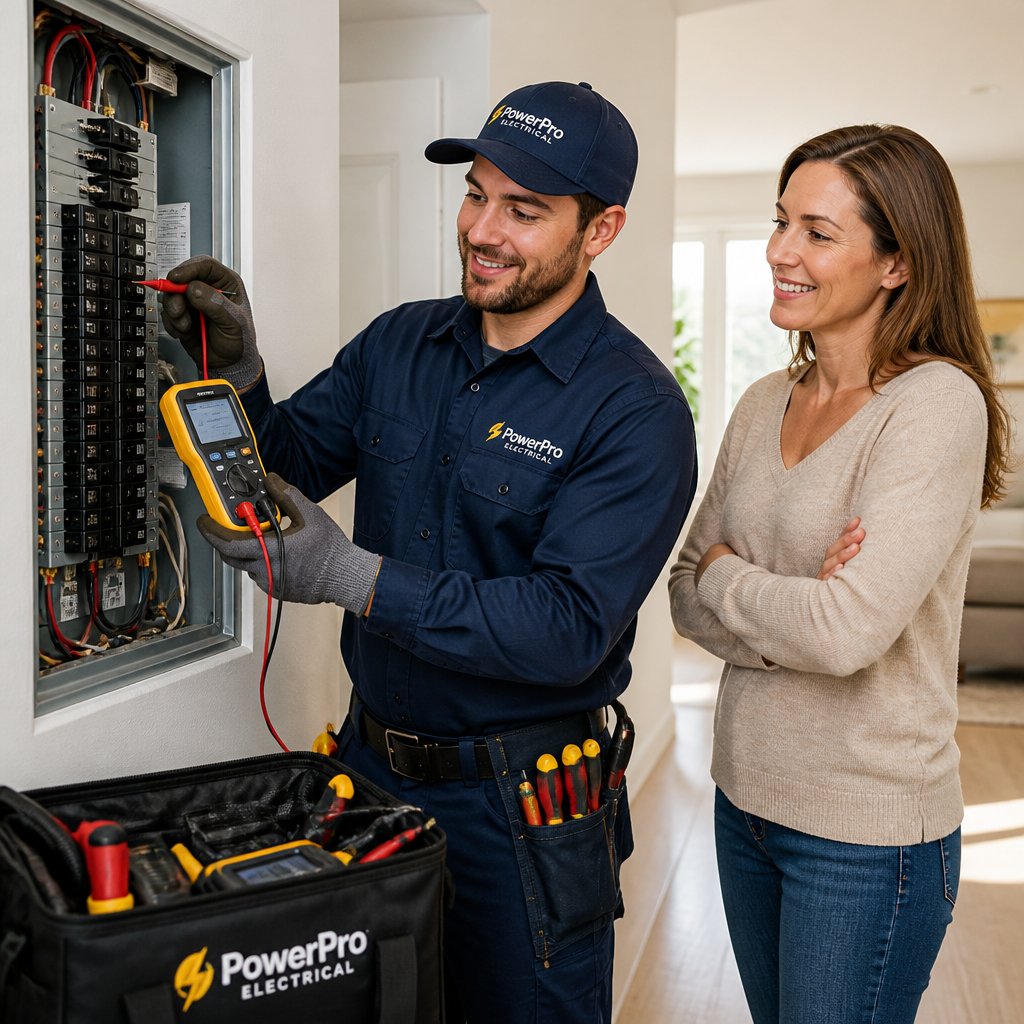
Ensuring Access to Electrical Panels
Your electrical panels need to be easy to reach. Inspectors will check breakers and wiring inside these panels, so nothing should block their way.
Remove boxes, furniture, or any other items in front of or around the panel. The area should be well-lit too.
Good lighting helps the inspector see clearly. Make sure the panel cover is intact and closes properly so it can be opened safely during the inspection.
Keep a few feet of clear space around the panel. Most codes require at least 30 inches wide and 36 inches deep clearance for safe access.
This space helps if the inspector needs to make adjustments or repairs after checking it.
Tidying Utility Rooms and Basements
Utility rooms and basements often have wiring, breakers, and other electrical systems. Tidy these areas for clear views and safe walking paths.
Look for dusty, wet, or damaged spots and clean or fix them before the inspection. Remove stored items that crowd outlets, panels, or wires.
Make sure all electrical cords are not pinched or tangled. If you have appliances connected in these spaces, confirm their cords and plugs are in good shape and outlets are not overloaded.
These details show the inspector you take electrical safety seriously.
Securing Outdoor Electrical Fixtures
Outside fixtures like lights, outlets, and junction boxes must be safe and well-maintained. Inspectors will check for weatherproof covers and secure mounting.
Make sure outdoor outlets have ground-fault circuit interrupters (GFCIs) as required by code. These protect against shocks, especially in damp areas.
Trim plants or branches that block fixtures or electrical boxes. Clear access helps inspectors see if the equipment is intact without risking damage or injury.
Check that wiring going into outdoor fixtures is sealed properly. Exposed wires create hazards and will cause problems during your inspection.
Ensuring Safety Precautions
Before starting an electrical inspection, keep safety as your top priority. Carefully manage power sources, use the right tools, and make sure everyone in your home knows what’s going on.
Taking these steps will help prevent accidents and make the inspection go smoothly.
Turning Off Power Where Needed
Always turn off power to the areas you will inspect or work on. Locate your main electrical panel and switch off the circuit breakers for the specific rooms or devices you are checking.
This stops electricity flow and lowers the risk of shocks or short circuits. If you are unsure which breaker controls what, label them once identified.
Use a voltage tester to double-check that the power is actually off before touching wires or outlets. This extra step protects you from unexpected electrical current.
Never try inspections or repairs with live wires unless you are a licensed professional. Safety first means cutting power when necessary to avoid injury.
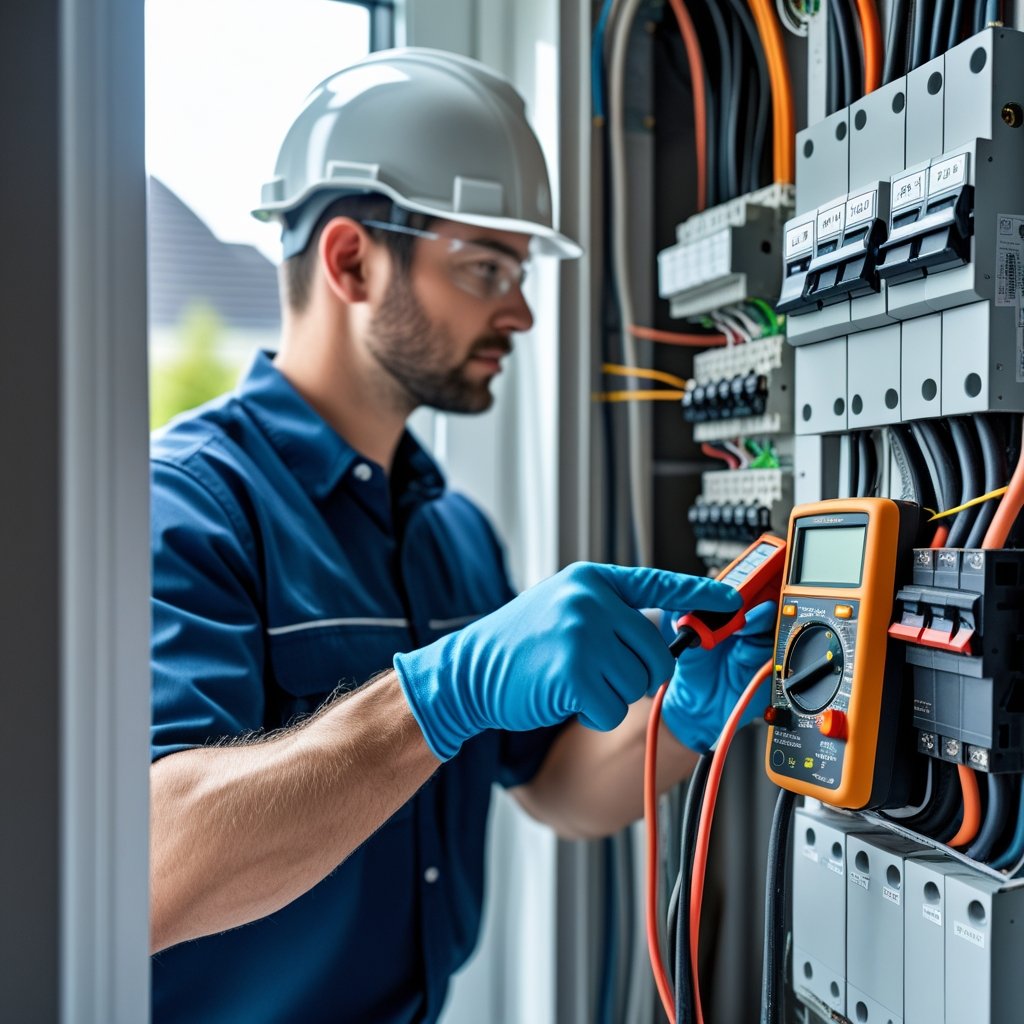
Using Proper Tools and Safety Gear
Use the right tools to stay safe during your home inspection. Always have insulated screwdrivers, voltage testers, and wire strippers made for electrical work.
These tools protect you while you handle wiring. Wear safety gear like rubber-soled shoes and insulated gloves.
This gear helps prevent electrical shocks if you touch a live wire. Avoid wearing metal jewelry because it can conduct electricity.
Check that your tools are in good condition and rated for your electrical system’s voltage. Using damaged or improper tools can cause accidents or harm the system.
Communicating with Household Members
Before you start, tell everyone in your home about the inspection schedule. Explain that you may turn off power in certain areas to avoid surprises.
This prevents anyone from trying to use appliances or lights in those parts of the house. Create simple rules, like not touching switches or outlets when the power is off.
Keep children and pets away from the work area. Clear communication lowers the risk of accidents or confusion.
If others need to use devices during the inspection, plan short breaks to restore power safely. Keeping everyone informed makes the process safer for all.
Scheduling and What to Expect During the Inspection
Set a clear time with the inspector and learn what steps they will take during the visit. Prepare a few questions ahead to better understand the results and next steps.
Coordinating with the Inspector
When you schedule the inspection, choose a time when you can be home. The inspector may need to see all parts of your electrical system, including the panel and outlets.
Ask what the inspector expects from you before they arrive. Some inspectors want you to turn on all appliances or circuits.
Check if you need any paperwork ready, like permits. If you have a generator or special equipment, tell the inspector in advance.
This helps them prepare and prevents delays.
Understanding the Inspection Process
The inspector will check your electrical panel, wiring, and outlets. They look for safety hazards like loose wires or missing breakers.
Expect the inspector to test outlets for grounding and check that the panel has proper circuit breakers. They also verify that everything meets local electrical codes.
The inspection usually takes 30-60 minutes, depending on your home’s size. The inspector may show you damaged parts or areas that need fixing.
Preparing Questions for the Inspector
Write down your questions before the inspection so you don’t forget them. You can ask about any safety issues they find or how to fix specific problems.
Examples include:
- “Are there any circuits that need upgrading?”
- “Is the wiring safe for my appliances?”
- “Should I install a transfer switch for my generator?”
Ask for clear advice you can follow. This helps you plan repairs or upgrades with confidence.
Post-Inspection Steps
After your home electrical inspection, review the results carefully. Make a plan for needed repairs and keep all documents safe for later use.
Reviewing the Inspection Report
The inspection report lists everything the inspector found. Read it slowly.
Look for issues marked as urgent or needing repairs. Pay close attention to notes on faulty wiring, outdated panels, or broken outlets.
If something is unclear, ask the inspector or your electrician for help. Highlight key points or make a checklist to track what needs fixing.
Planning Electrical Repairs
Once you know what needs work, make a clear plan. Decide which repairs are most urgent.
Fix safety hazards like exposed wires or outdated circuits first. Get quotes from licensed electricians and compare costs and timelines.
Schedule repairs soon to keep your home safe. If upgrades are recommended, like new outlets or a panel upgrade, consider doing those with your repairs.
That way, you avoid repeated work and extra costs.
Keeping Records for the Future
Keep all inspection papers and repair receipts in one folder. Organize them by date and type of work.
You can also keep digital copies by taking photos or scanning documents. Store them safely.
Good records show you maintain your home well. They help professionals understand your electrical system’s history if you need more repairs or inspections.
Frequently Asked Questions
Preparing your home for an electrical inspection means knowing what will be checked and when. Understanding common issues that might cause delays also helps.
What items are typically checked during a home electrical inspection?
Inspectors look at wiring, outlets, switches, and your electrical panel. They check for signs of wear, proper grounding, and safe connections.
They also test breakers and make sure everything meets safety codes.
How can I prepare for a residential electrical rough-in inspection?
Make sure all wiring is installed without damage or loose connections. Keep walls open so the inspector can see the wiring clearly.
Label circuits if possible to help the inspector understand your system.
What are some common reasons for failing a home electrical inspection?
Common issues include faulty wiring, overloaded circuits, and missing or damaged outlet covers. Improper grounding and outdated or non-code-compliant panels also cause failures.
Loose connections can lead to a failed inspection.
What should I expect during a final electrical inspection?
The inspector checks all installed devices, including outlets, fixtures, and breakers. They confirm everything works properly and your system meets code.
They may test GFCI outlets and smoke detectors.
At what point in my renovation or construction is an electrical inspection required?
You need an inspection after the rough-in wiring is complete, before closing walls. Another inspection happens when the entire electrical system is finished.
Local rules may require extra checks during the process.
Is there a checklist available to help homeowners get ready for an electrical inspection?
Yes, you can find checklists online that guide you through prepping your system. These lists cover tasks like checking outlets and labeling circuits.
Make sure to clear the inspection area as well. Using a checklist helps you stay organized.